Why Mannequins?

Leif Anderson • Sep 08, 2022

Why Mannequins?

Why Mannequins? Because they work.

Mannequins have always been used as a tool for sales in retail. It’s a well-known fact that clothing properly displayed on a mannequin will increase the sale of that product by 20-40%.


Fortune claims that Brian Cornell (CEO of Target) said,

“Sales of items worn by mannequins, which are now at 1,400 of Target’s nearly 1,800 stores, have increased by 30%."


That’s impressive!

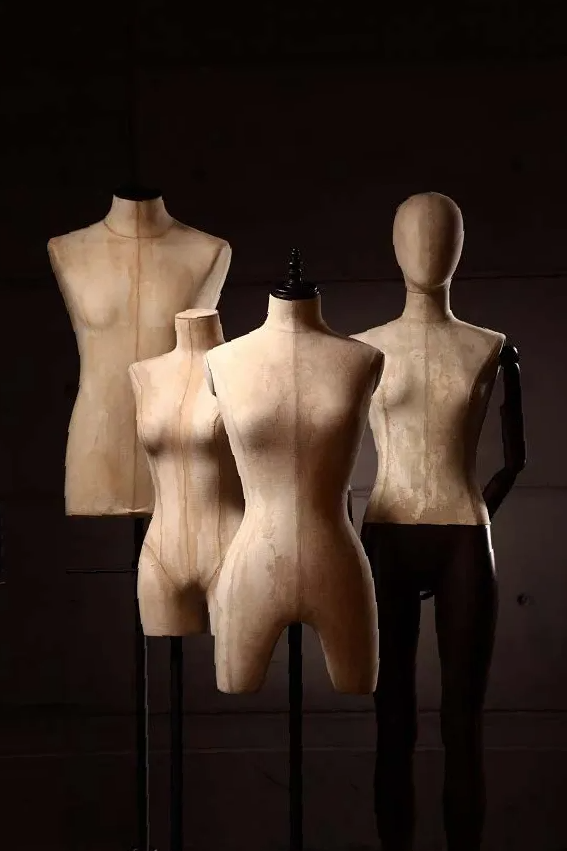
At a basic level, a mannequin is a life-sized human form used in-store to show merchandise used to showcase merchandise in order to increase sales. They are often perceived as simple bodies that involve dressing and accessorizing and, apart from this, do not tend to have separate characteristics.

They are an iconic presence in retail and one of simplest and most effective ways to inspire the customer to buy product. They allow new product, sales and hot trends to be featured visually in an instant. In addition, mannequins also work in window displays and can be used to lure clients into the store by displaying the store best and finest merchandise.

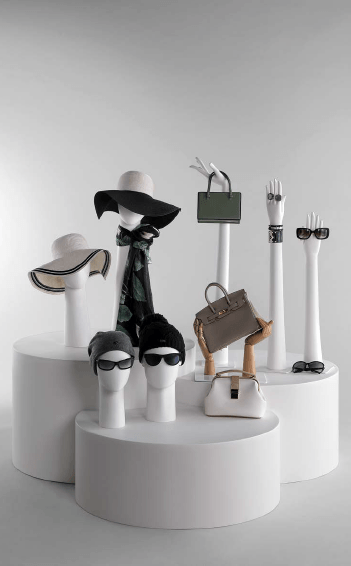
Today, they have evolved beyond static objects to become something that can add real value to the message of a brand and highlight store design to heighten the customer shopping experience. Mannequins, from a retailer’s perspective become the face of the brand they represent. More and more, retailers are challenging what a typical mannequin is in order to distinguish themselves. Some might not consider mannequins terribly significant, but they are! Brands that “get it” make hefty investments to design custom mannequins that effortlessly illustrate their brand story and image. In today’s retail environment, it’s the details that matter. Luckily with mannequins, the possibilities are endless.
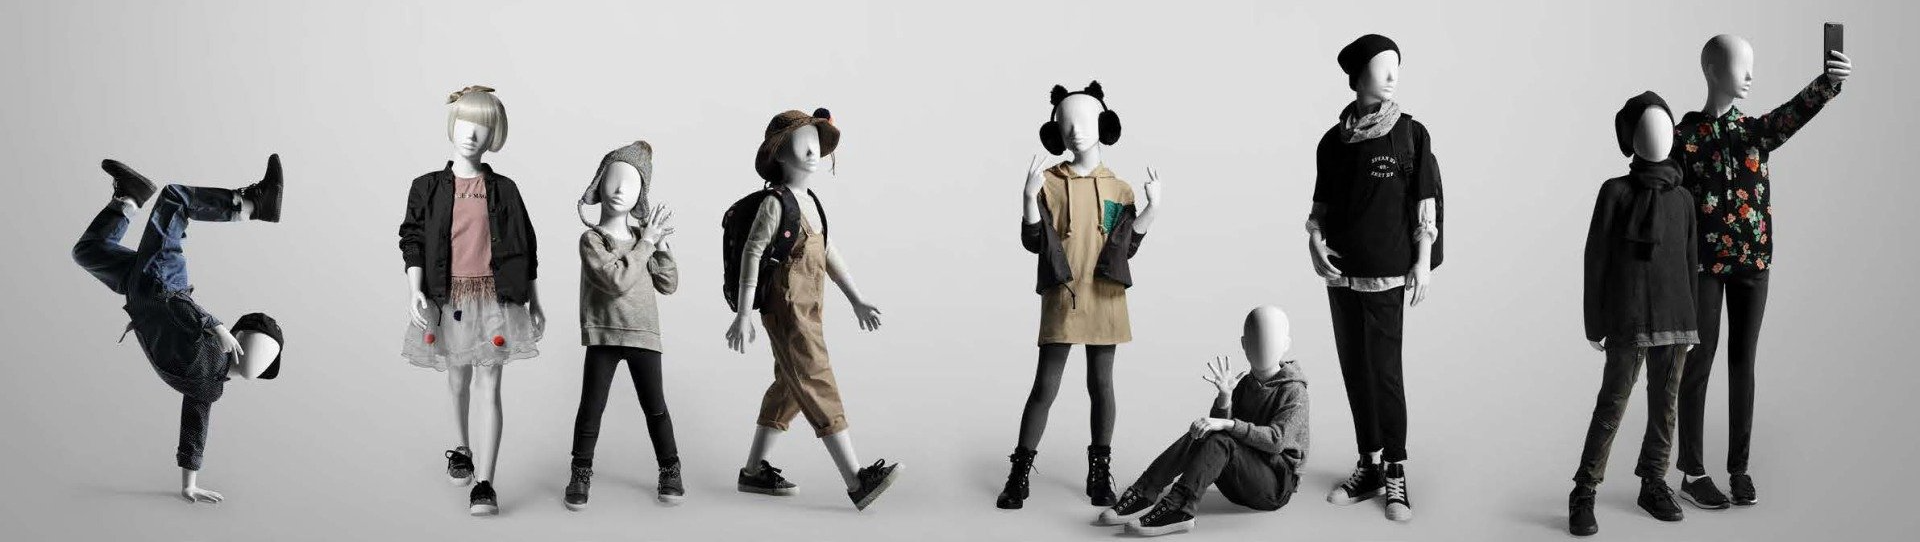

Lifestyles


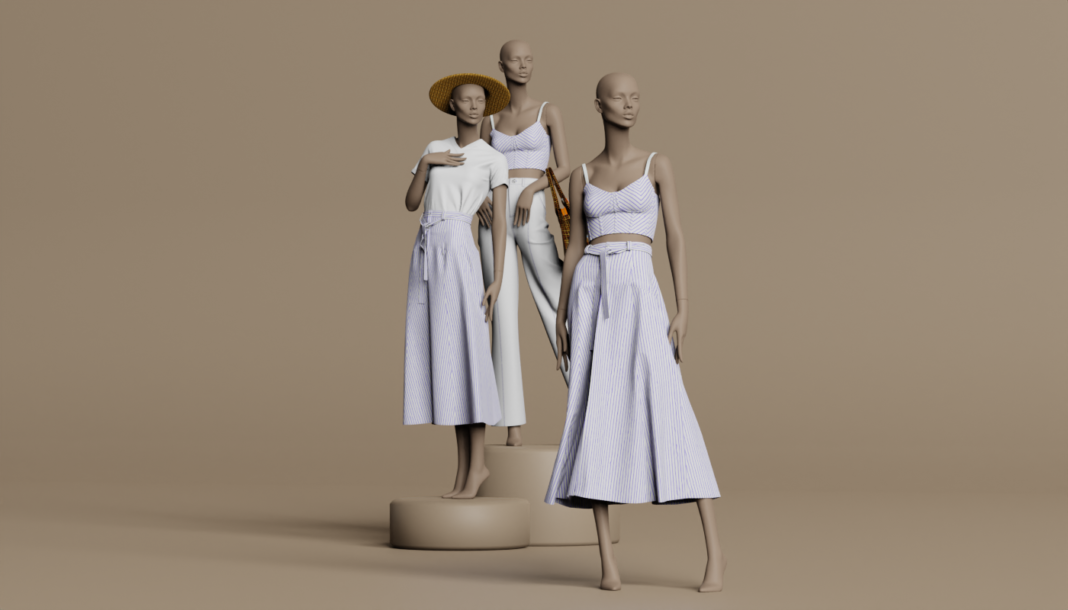
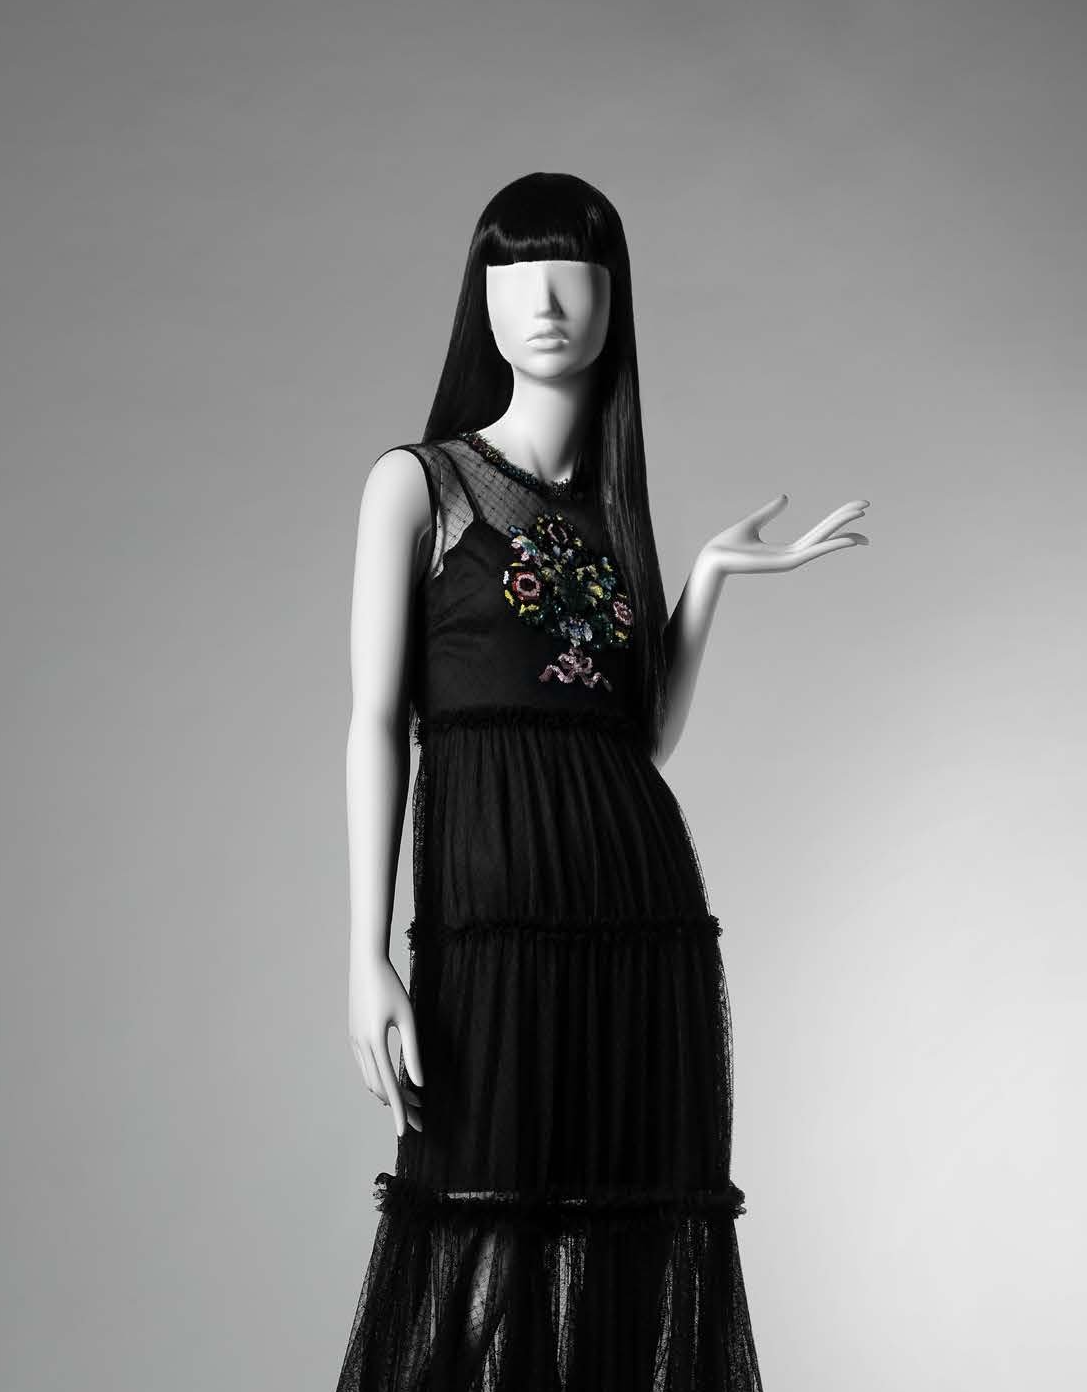
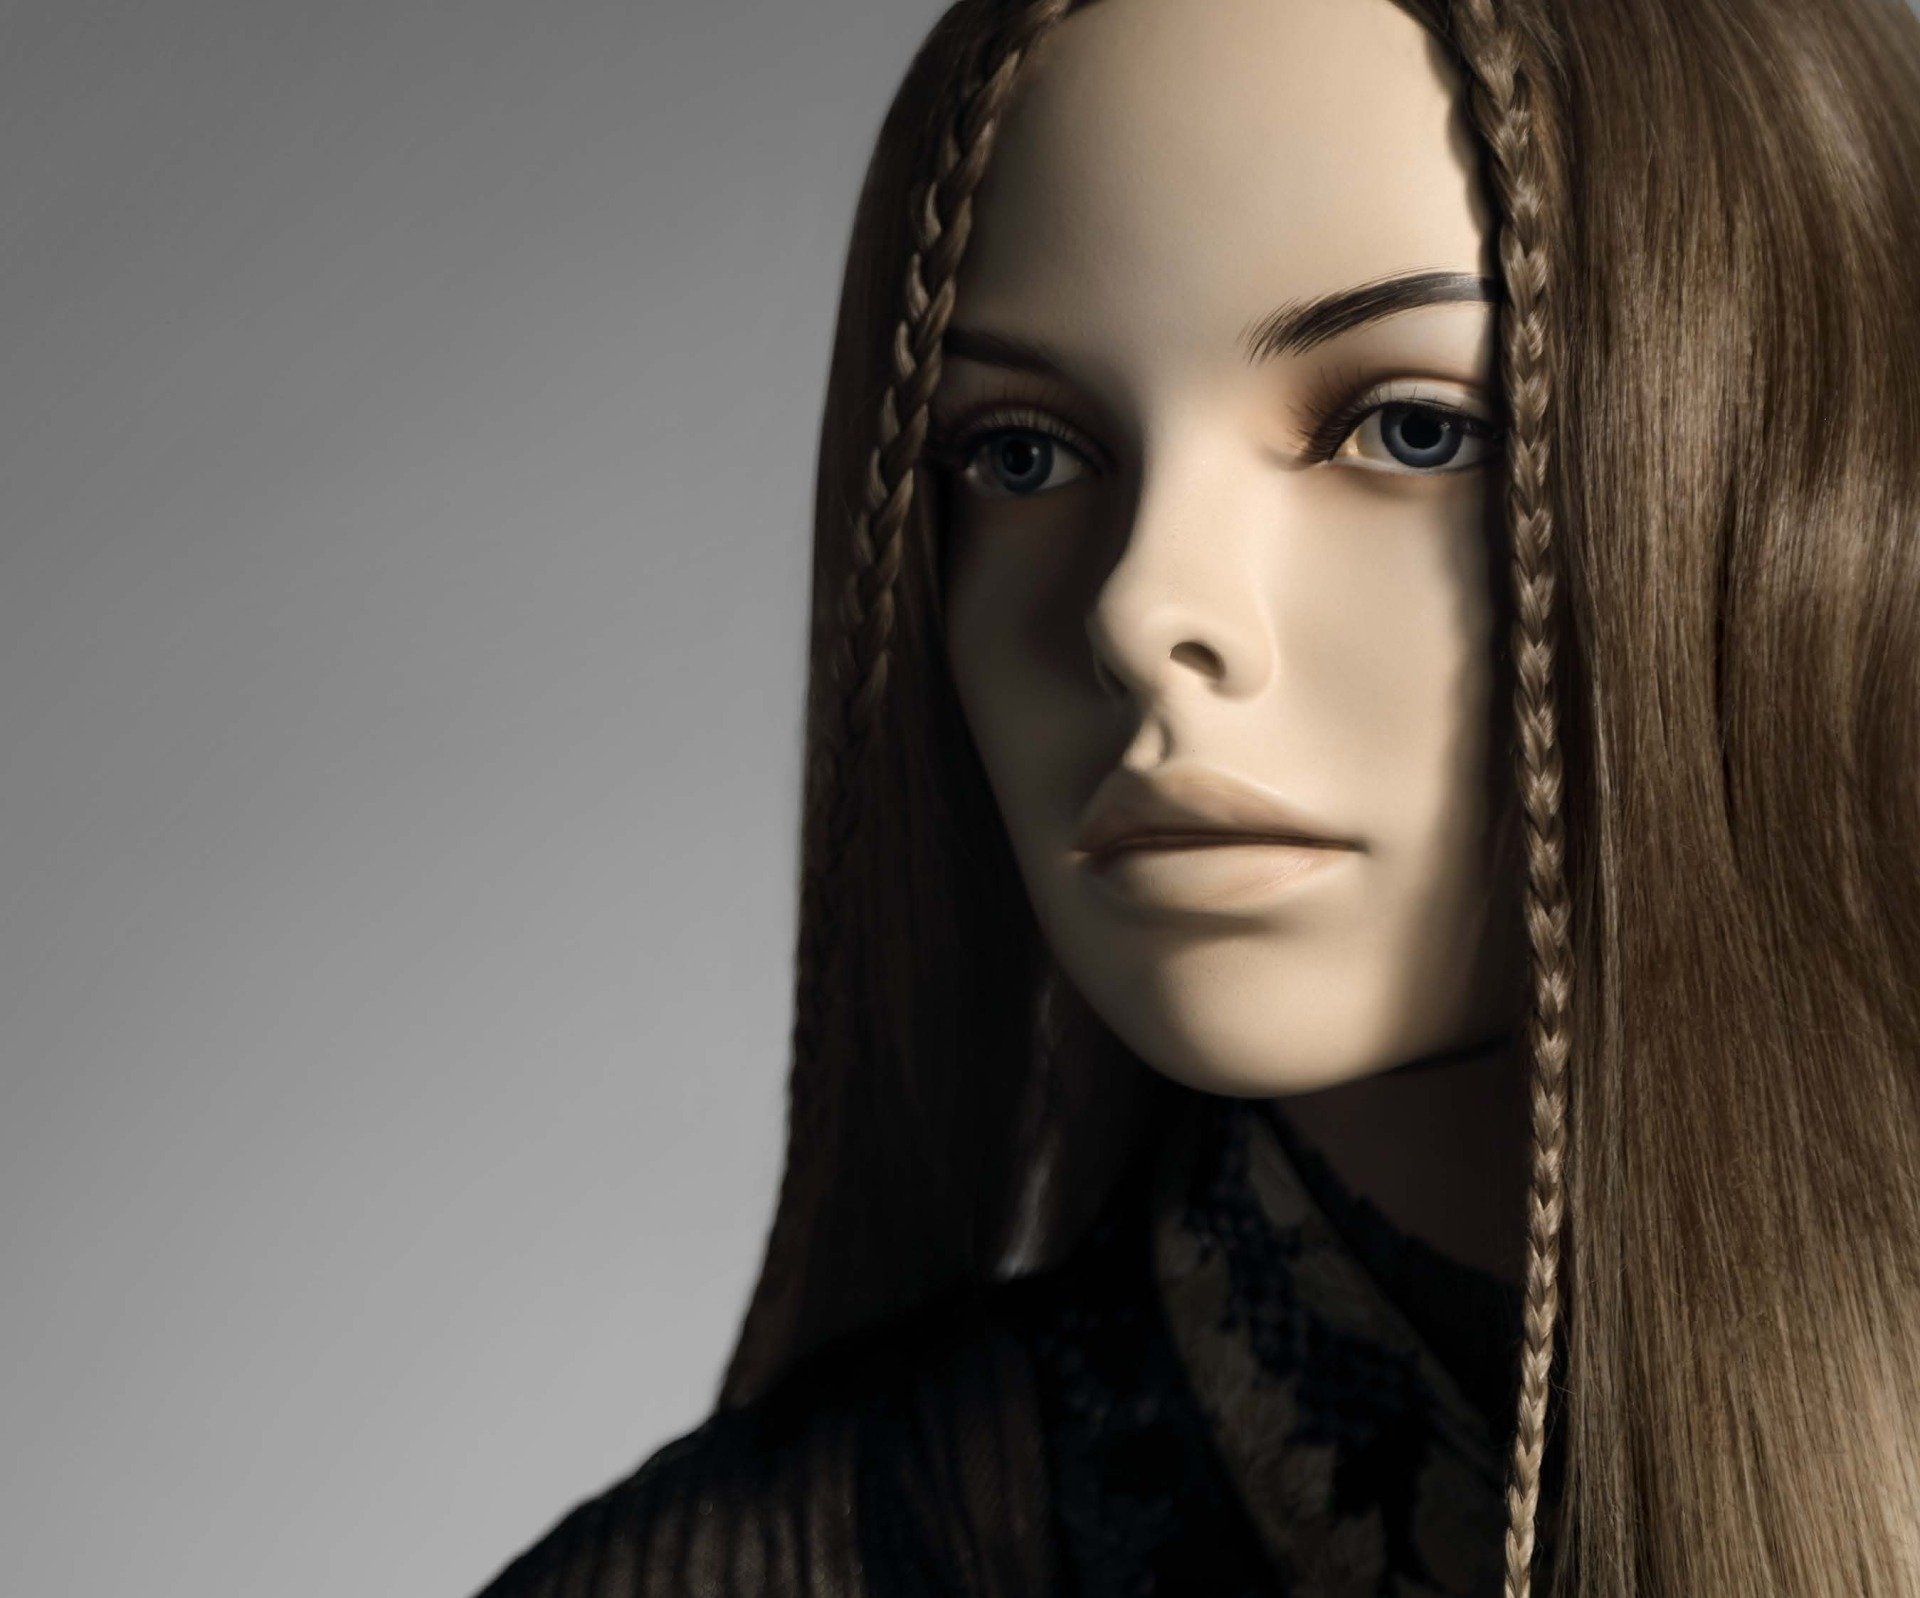
If a picture is worth a thousand words, then perhaps the most noteworthy element of mannequin use is its ability to represent a target customer. Realistic mannequin figures, in specific, can not only portray and relate more appropriately to clients, but can also encourage strong individuality, diversity and inclusiveness. 

Store Design Symmetry


Mannequins can be an important aspect of the store's interior design. They improve and compliment the store's atmosphere. Incorporating elements of the store design into the mannequin such as colour, tone, finish and texture will allow for unity and enhance the visibility of the displayed product.

Characters


Breaking the boundaries of a traditional mannequin has a huge impact to separate yourself from the sea of retailers out there. Our only limit is our imagination.
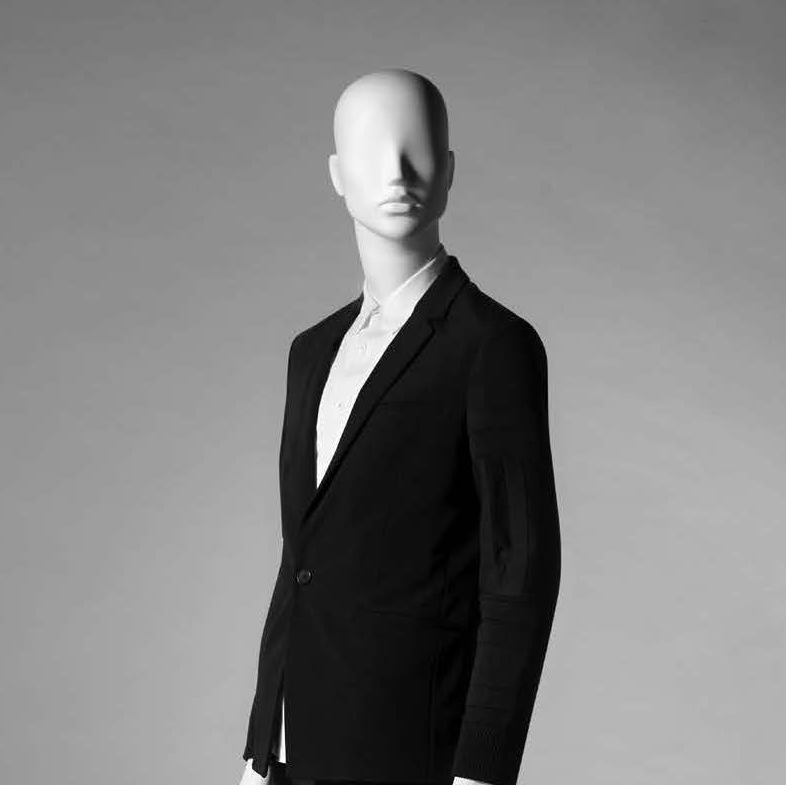
Fit


Not every target customer is the same size. “Curvier” options as well as petite, more toned, slender, and even "buff" figures are readily available for both men and women and all the options of customization options are available.
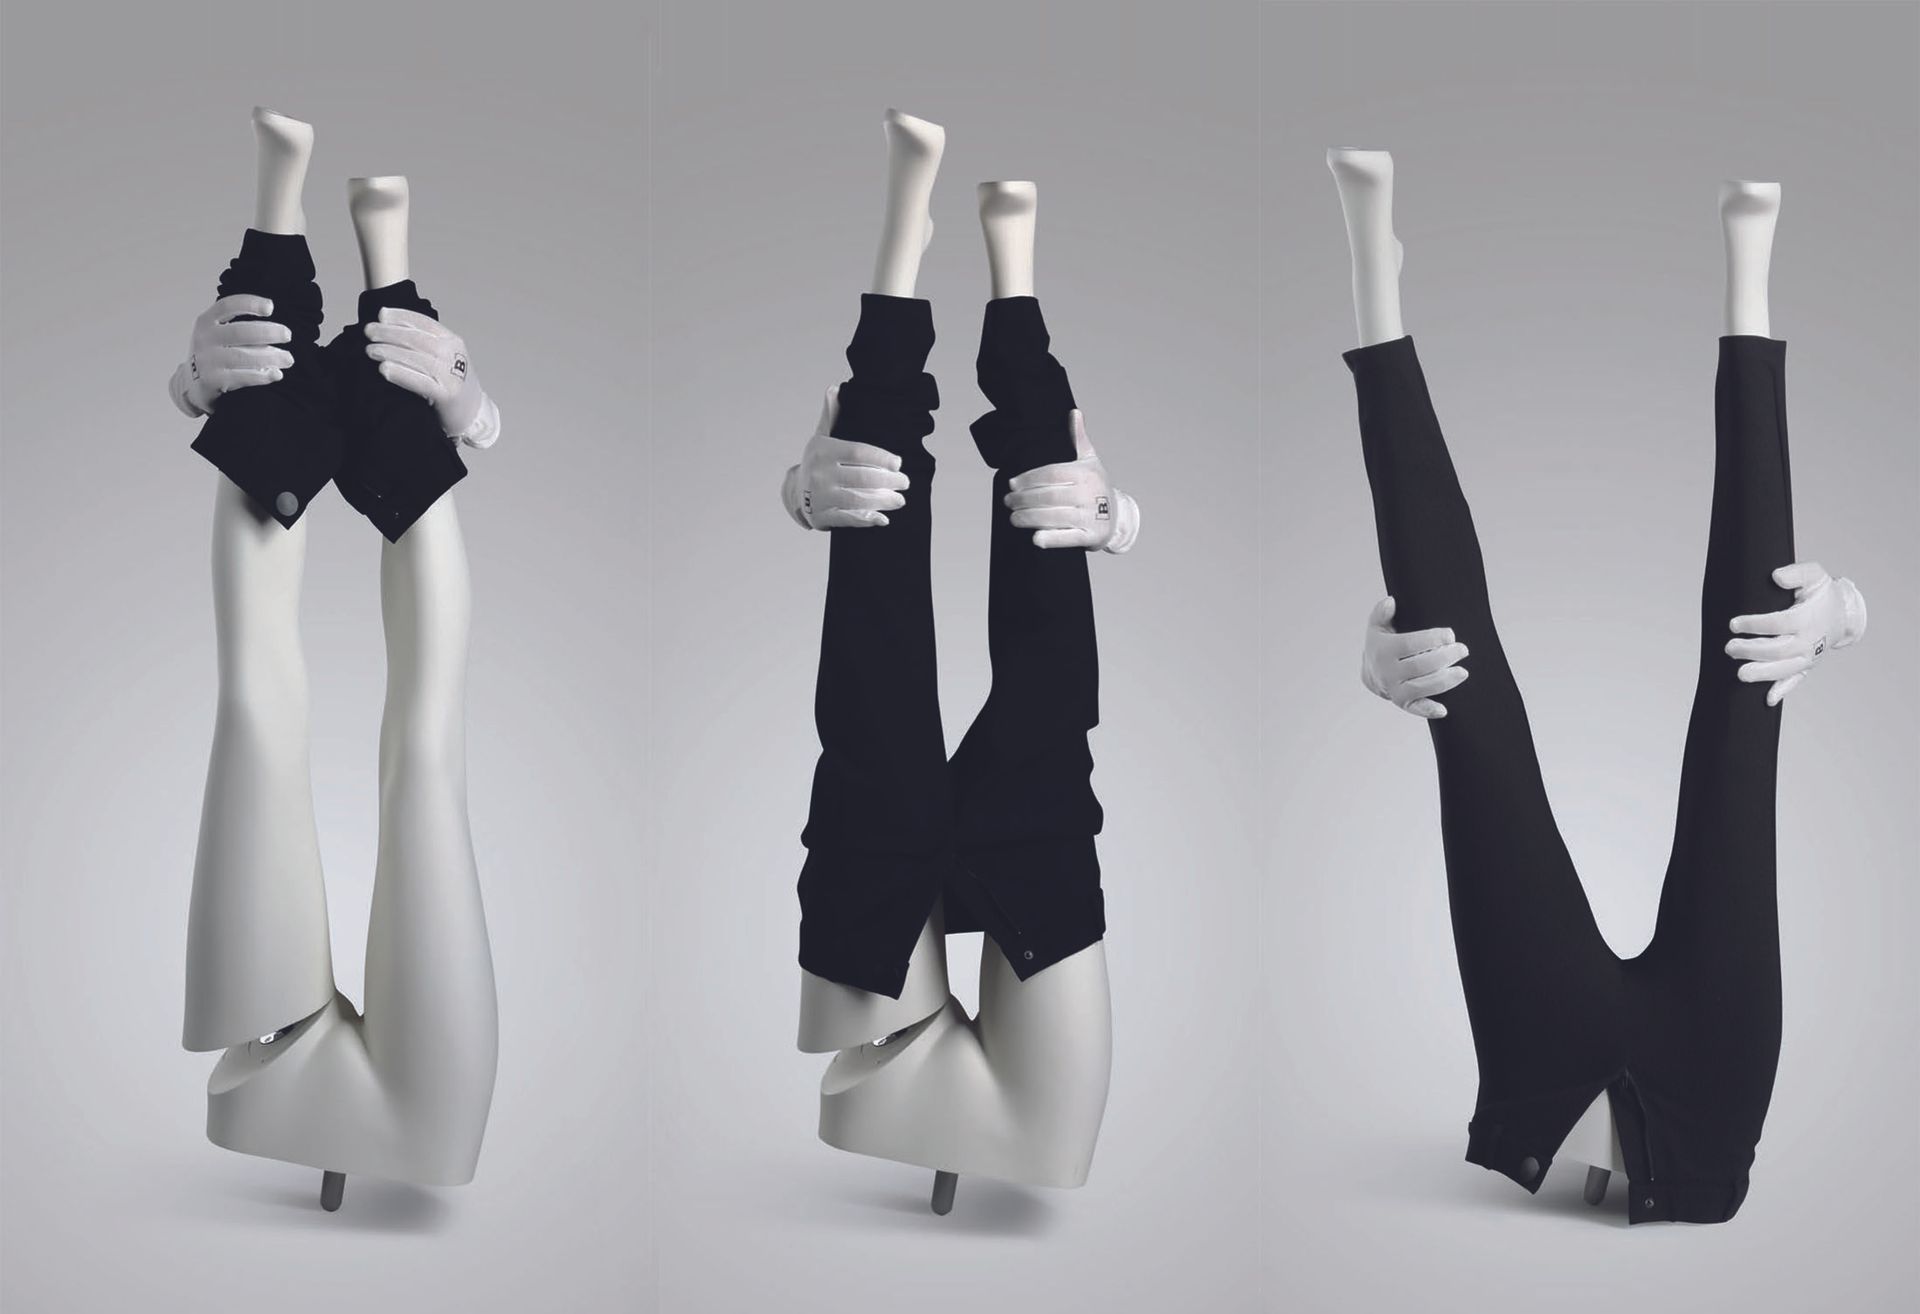
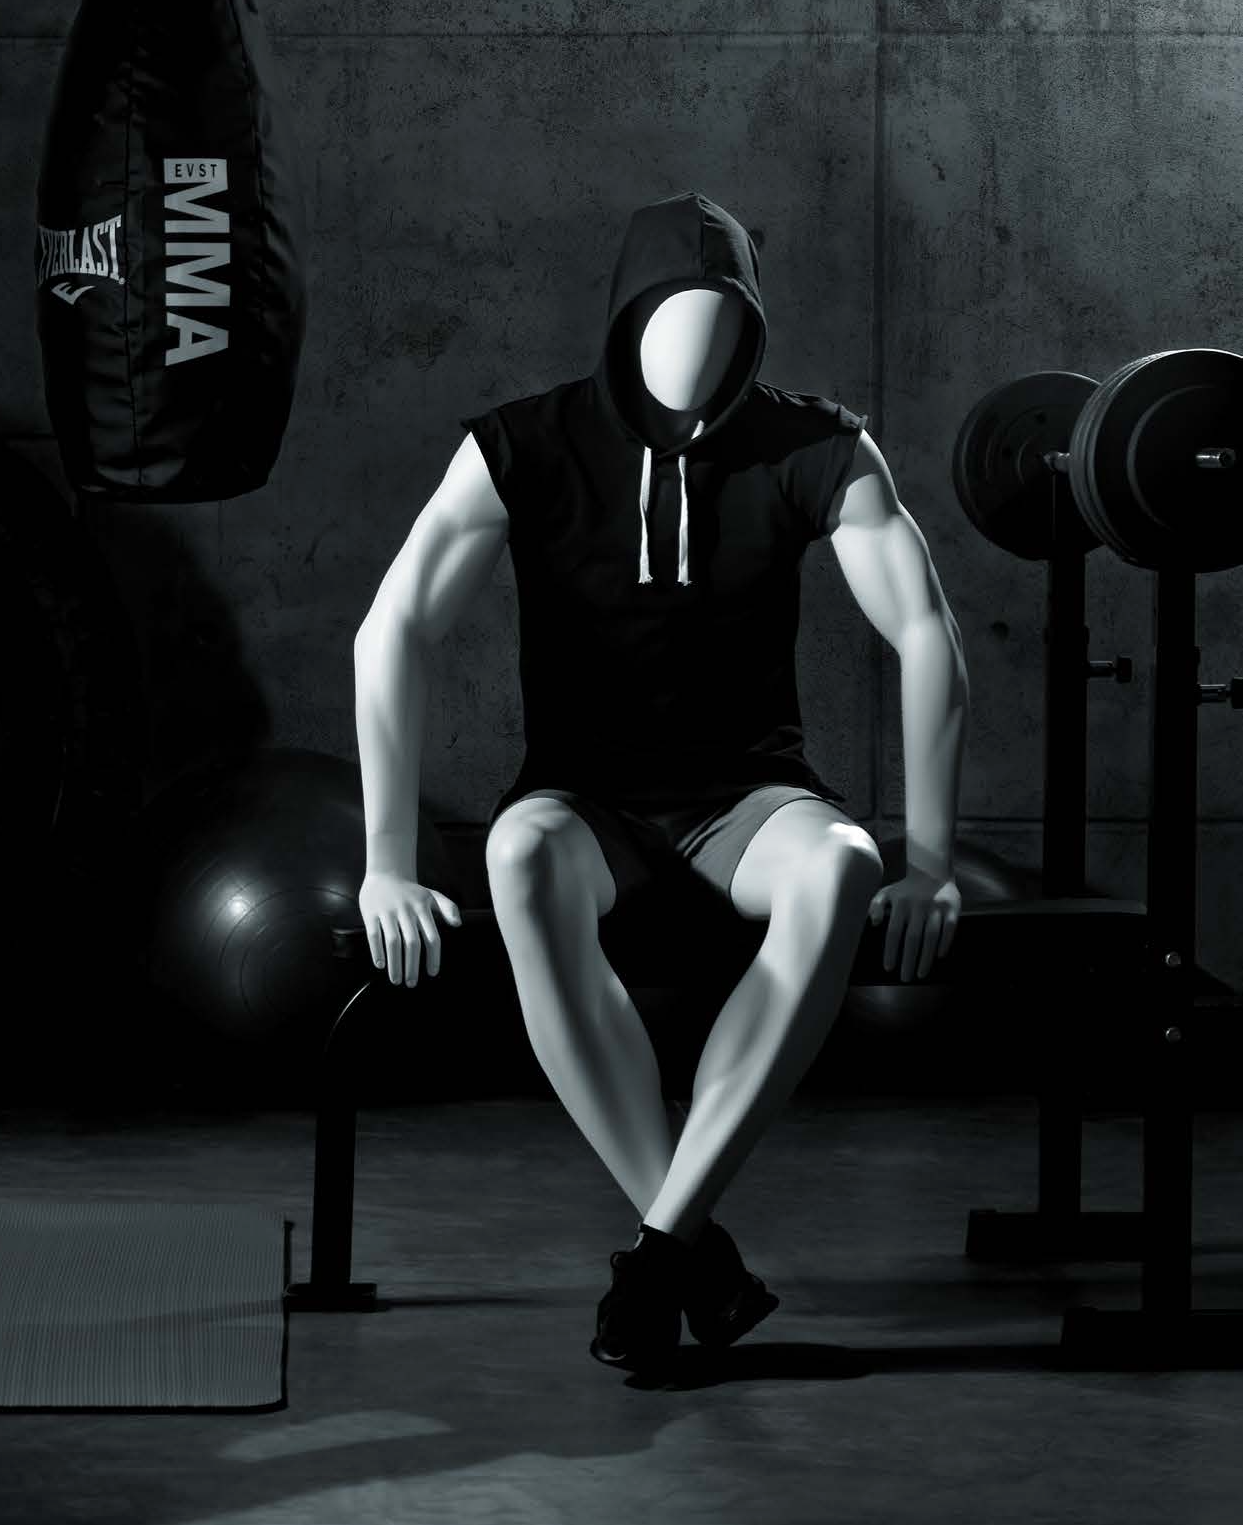
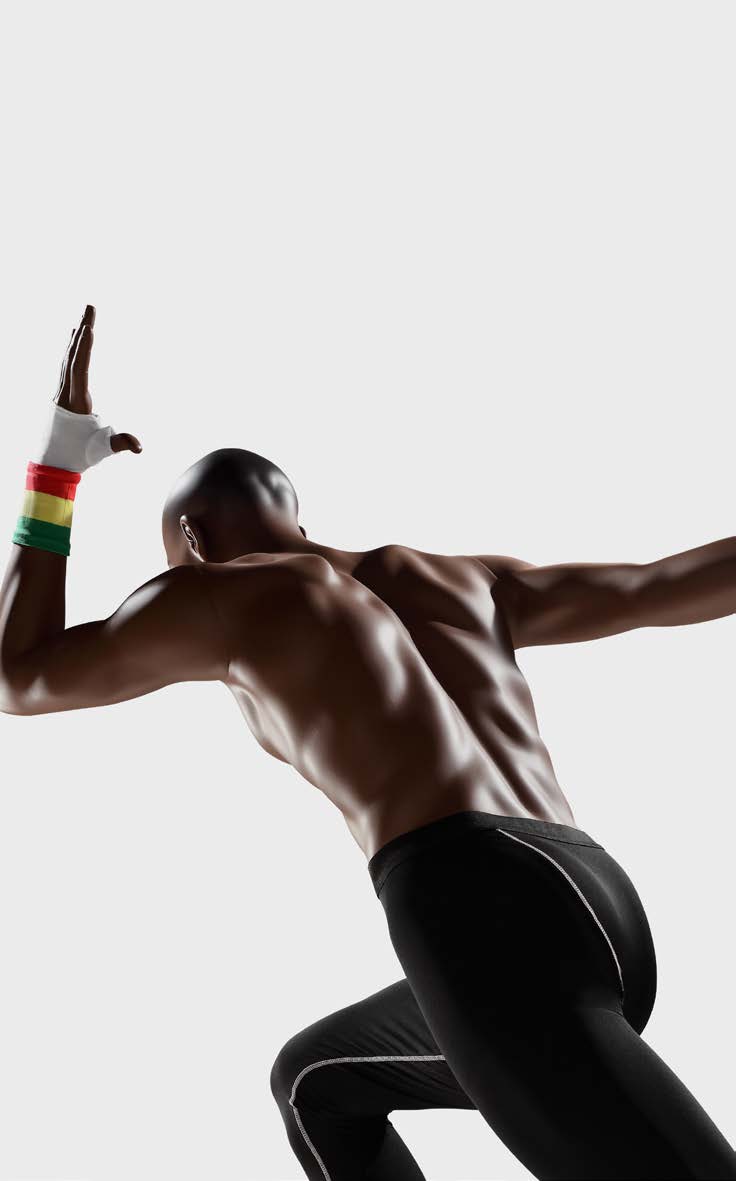
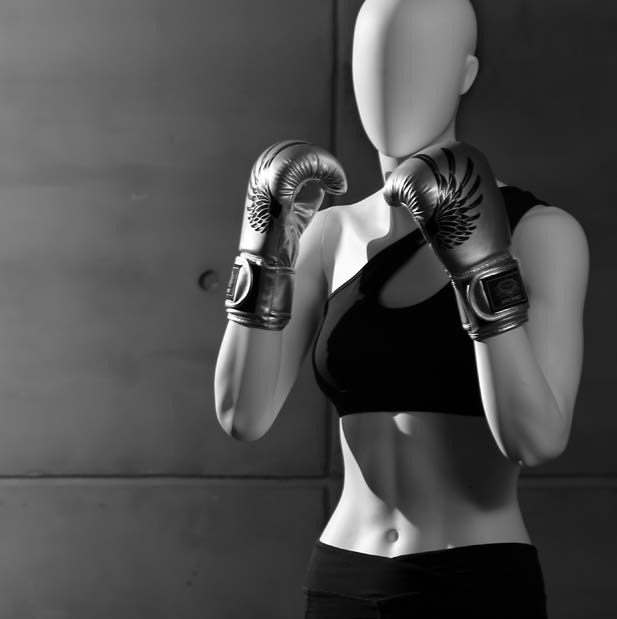
Active


Mannequin use in the profitable sector of active wear shows no signs of slowing down. The way active wear is presented to customers can have a real effect on its attractiveness. Collections of Outdoor Sports clothing on mannequins in running, hiking or skiing positions demonstrates how mannequins can be as flexible as humans, show the clothing in action and bring them to life. 


Both physically and symbolically, 'active' mannequins can really help imprint the brand image onto the customer.
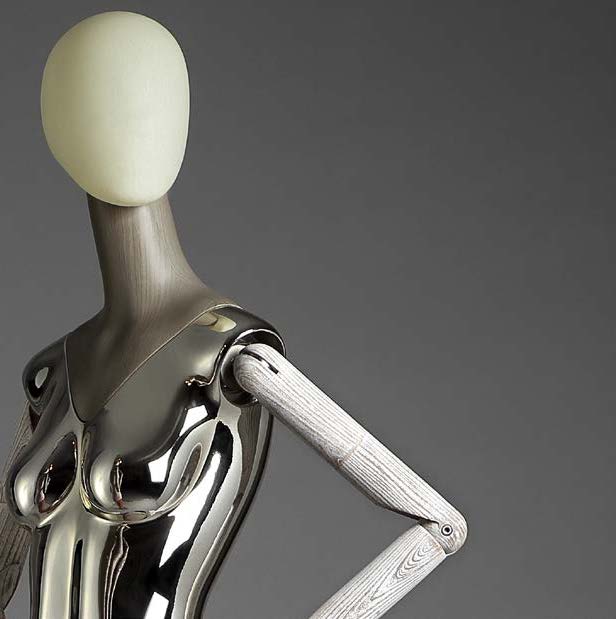
  • Lifestyle


    Button
  • Store Design Symmetry

    Write your caption here
    Button
  • Characters

    Write your caption here
    Button
  • Fit

    Write your caption here
    Button
  • Active

    Write your caption here
    Button

Customization


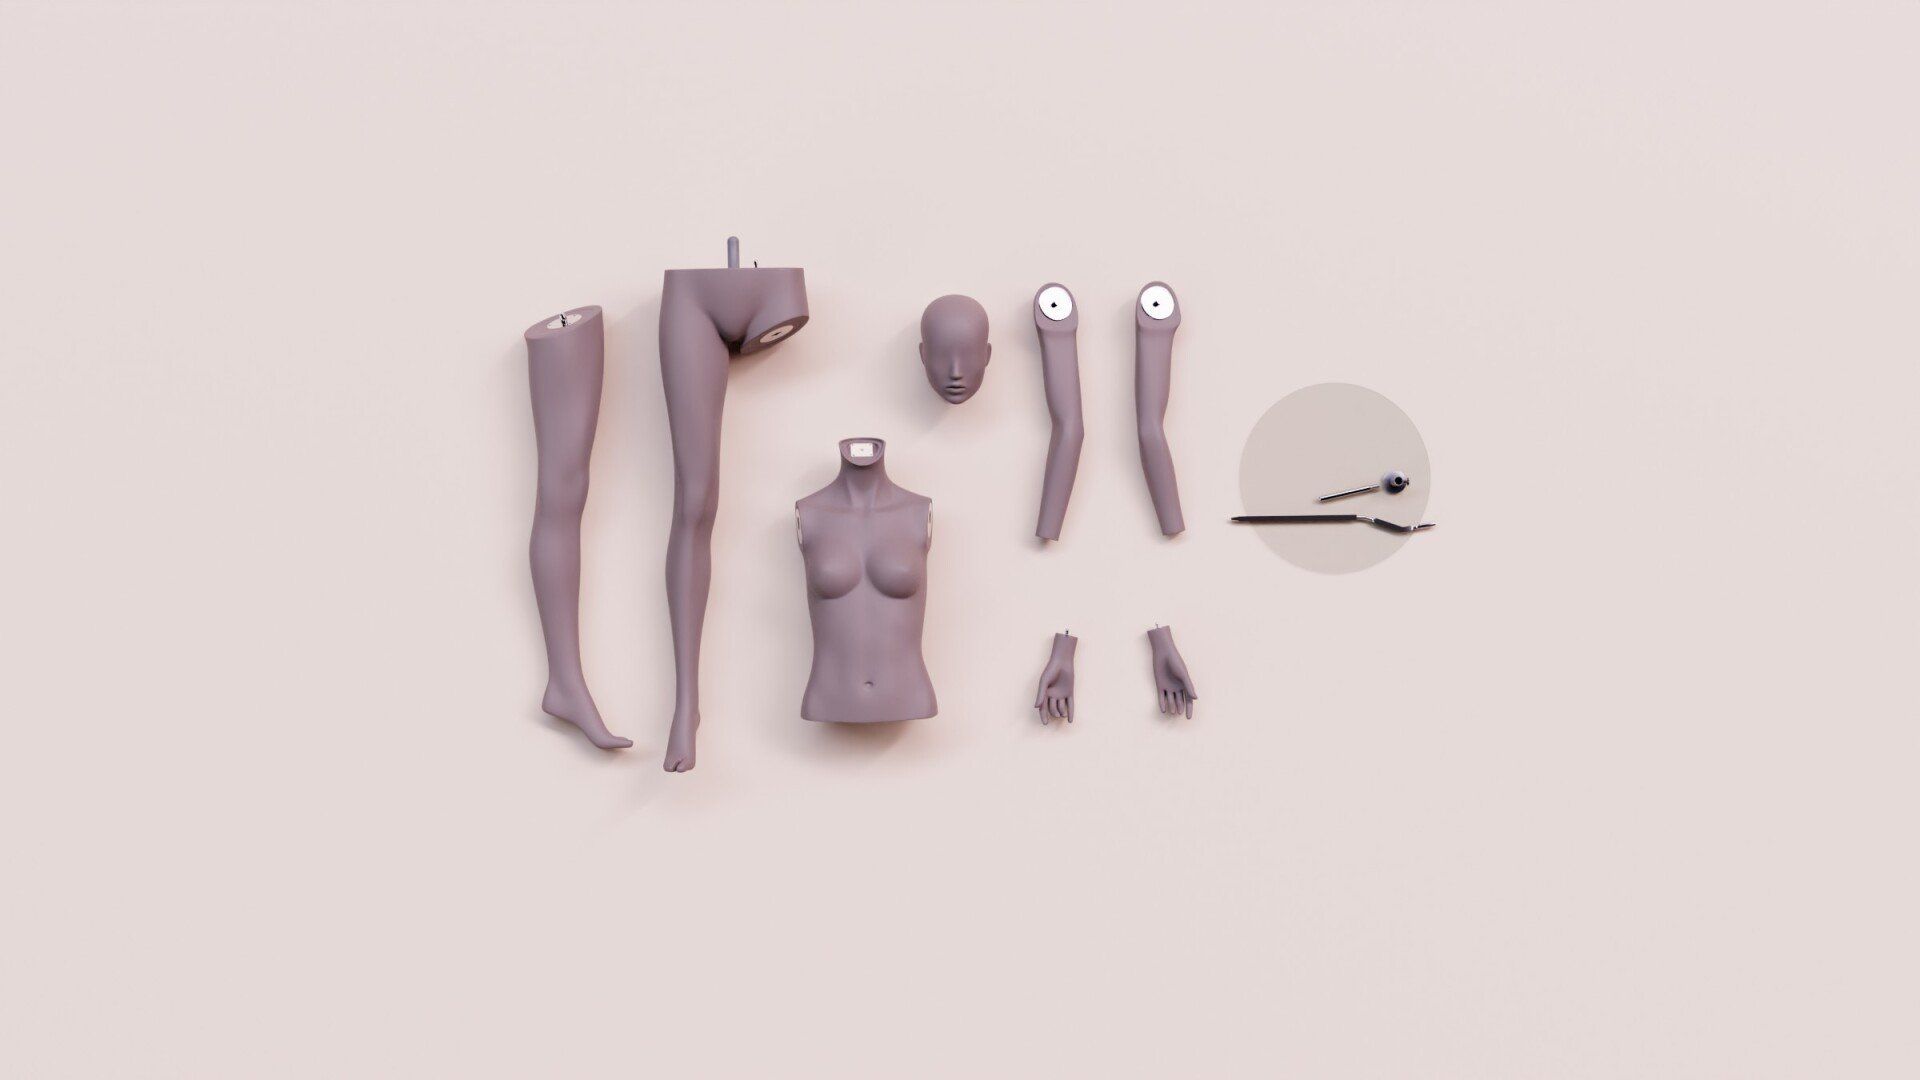
Every Brand is unique and creating a customized mannequin with exclusive use is a valuable option to standing out above the other retailers by defining that uniqueness. With today's 3D technology, creating your very own mannequin has never quicker and more affordable. Creating a new pose or even just a head or face has never been easier. With new software at our fingers, conceptual 3D models can move into production in 2-3 weeks.

Social responsibility


Sustainability is more than just a trend. It is an approach to business and life and important for some brands to communicate to their clients. New plant-based materials available for making mannequins have a considerably less carbon footprint than a decade ago. Some creative solutions include mixing material with recycled material to create beautiful looks that are not only unique but show the client visually a brand’s commitment to a greener future. 

In Conclusion


Mannequins are a fantastic way to sell products, and with the options available today, they have a chance to do so much more. They are an integral part of any fashion brand, and given the chance, they can really affect a brand’s in-store visual impact. Mannequins are more than just a general feeling in a store; they become something clients can really identify with and establish a long-term connection. They tell a complete story of what the brand represents, conveying inclusivity and diversity, and showing commitment to a greener future. Most importantly, mannequins sell products!


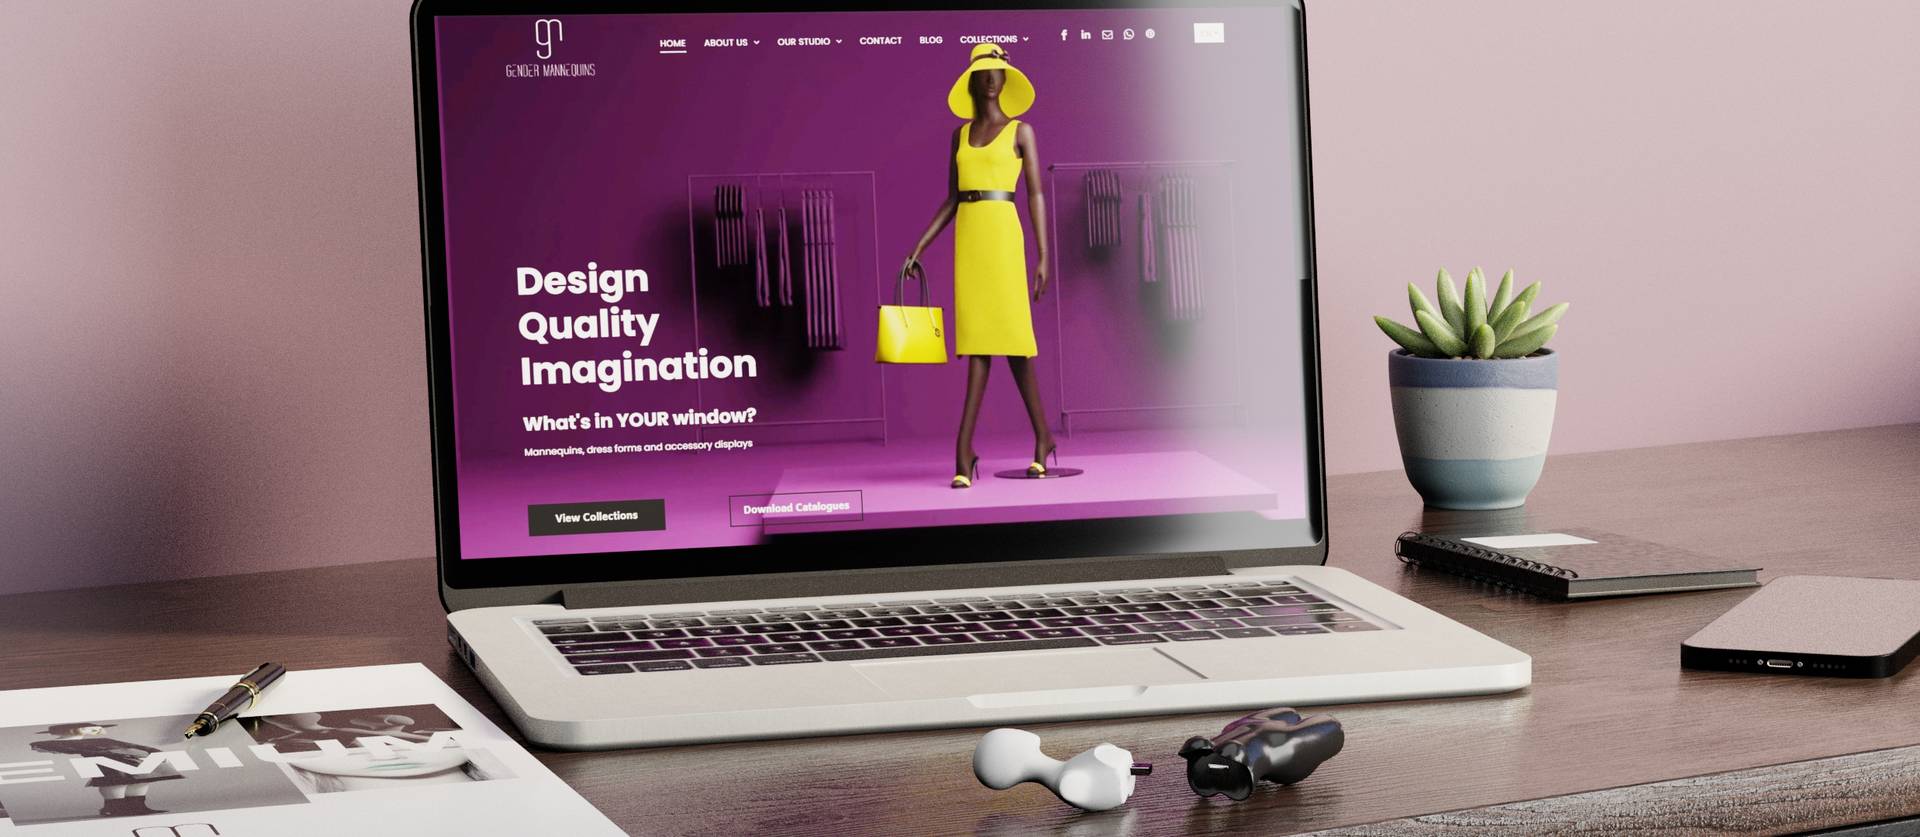
Leif Anderson has provided goods and services to Canadian retailers at Gender Mannequins since 1996

14 Jul, 2023
A Montreal-based company specializes in providing diverse and inclusive mannequins for visual merchandising. They offer a variety of sizes and inclusive mannequin heads representing different ethnicities to create inclusive displays. The company believes in the importance of representation, empowering customers to showcase relatable and inclusive visuals. By embracing diversity in their mannequin collections, they celebrate the cultural richness and foster a sense of belonging for all shoppers. The company emphasizes the quality and design of their mannequins, comparing them to subpar alternatives found on platforms like Ali Baba. They have agents located in Toronto and Vancouver in addition to their Montreal headquarters.
By Leif Anderson 20 Mar, 2023
Why Mannequins at all?
By Leif Anderson 28 Apr, 2021
Once you’ve purchased your mannequin it will arrive in a box completely disassembled. If it’s your first time, you might not know where to start. With our step by step video guide accessed by scannable QR code printed on our boxes, you’ll have your mannequin up in no time and with very little effort. See video here 1. Traditionally mannequins will come in 8 pieces: upper torso, leg and hip, leg, left and right arms, left and right hands and base. Once you open the box you’ll want to lay all these pieces out on a soft flat surface to avoid scratch the finish. 2. Always start with the base first. Most mannequins come with a foot or ankle rod option and some include both. Decide what’s best for you and assemble the metal fitting onto the glass or metal base. 3. Next you’ll need to attach the opposite leg to the lower torso and leg piece. The easiest way to this is to flip the form so the feet are on top then put the fittings together and twist the leg into place. This might take a little elbow grease and having a second person help out makes it much easier. Newer mannequins will be a little tougher to assemble. Fortunately, such as the case with all our mannequins , this is the last time you’ll need to do this. Innovations like the “Spring Fitting” have made dressing a mannequin much easier. 4. Now that the hard part is over, place the assembled lower body on the base fitting. 5. Next twist the torso into place onto the lower body. 6. There are a variety of different arm fittings but they all should be simple enough to attach to the torso. 7. Finally place the hands onto the arms with a push and a twist. Once you’re finish you’re ready to dress it up.
By Leif Anderson 28 Apr, 2021
Dressing a mannequin for the first time can be an intimidating task. Not only do you have to get over the fact that you are dismantling a replica of a human body but you have to deal with unfamiliar hardware as well as a lack of knowledge on some basic tricks that can make life much easier...all that AND you have to create something appealing to your customers. The following will outline how to dress a basic standing mannequin along with few pro-tips along the way. In addition I will also give some tips on how to approach dressing sitters and other odd positioned mannequins. Every amazing display created for featuring in windows or interiors of stores begins with the simple objective of attracting your target customer and/or selling a specific piece clothing or accessory. Once you've purchased the perfect mannequin that reflects your brand image the first task is choosing the perfect outfit (some retailers will supply look books with directives of what to dress)...remember it is ALL about the clothing...your mannequin is the canvas to the art of dressing. Take your time choosing, every decision of what to dress your mannequin with needs to relate to your customer. It can be adventurous or conservative, colours that match (or not), throw in an accessory ...it all needs to work for you. Once you have chosen your outfit(s), do as follows: 1. If needed, steam the clothes and hang them up on a rack to prepare keeping all the outfits together. 2. Remove the tags (if they can’t be hidden)...find a safe place to keep them as they will be needed (a pocket, in a shoe etc). 3. Prepare your mannequin for dressing (tip: if you have never used this specific mannequin take it apart carefully taking care on how you remove parts, them put it back together without clothing as practice). Dismantle the mannequin: - depending on what parts need to be removed, lay them adjacent to where they need to be re attached on the floor. - The arms, hands, legs, torso and base should all be separated and placed carefully on a soft surface. Mannequins can get damaged very easily if you’re not careful. Getting a scratch or a chip on its face requires a very expensive and time consuming repair job. 4. First dress the bottom (pant or skirt) and shoes if used. You’ll find it easier to put them on with the mannequin feet sticking up and the waist on the ground. (Some of the newer mannequins have a spring in the leg attachment allowing the legs to be pushed together with a little bit of pressure, enough to slip pants on without taking the legs off. If so, proceed. If not, you’ll have to remove the legs (or one leg) from each other (or torso) and reattach them once the pants are at the right position. This is usually the hardest part so don’t be shy to ask someone for help. Finish them off with any footwear you might be using. (Pro-tip #1 If the legs of the mannequin are close enough together so that you can slide a pair of pants on without taking them apart leave them attached). 5. Now attach the legs onto the floor base. It’s important to know beforehand if you will be using shoes, socks or stockings on the mannequin as mannequins come with different options to attach the legs to the base. An ankle rod is the most common when using footwear as they stay clear from the foot/shoe. Foot rods are commonly used when showing the mannequin barefoot (some retailers will use the foot attachment even if they use shoes, this is done to hide all mannequin hardware but entails placing a hole in the shoe). 6. Now after the legs are attached to the base and standing upright place torso on the legs without the arms and dress it with whatever you’ve picked out. 7. Start with under layers first as you would when dressing yourself. When putting on layers of long sleeved clothing insert the sleeves into each other (see image). All buttons and zippers should remain undone. (Pro tip #2: If you’re dressing a realistic mannequin be sure to take off the wig and place a plastic bag over the mannequins head to avoid scuffing the face or putting hair and eyelashes out of place). 8. Next, one at a time, thread the arms through the neck into the sleeve, wrist first (without the hands) and attach them to the upper body. This can be an awkward task and often very frustrating depending on how many layers you’re using and how tight the garments are (Pro tip #3 to make it easier for dressing layers you can use larger sizes and pin them afterwards...larger sizes have more room in the arm holes). If you’re having trouble make sure there is no excess material from the clothing stuck between the arm and the torso as the arm will not connect. (Pro-tip #4 One or two arms of a button up shirt or jacket can sometimes be slid on a mannequin arms while already attached if they are straight to the side of the mannequin). 9. The final touch is “finishing” the mannequin and it can be an art in itself. If needed, put on the wig and make sure it’s styled. - Take a look at outfit and see if it needs any more steaming. - Make sure you button and zip everything that needs to be up and that all the seams of the clothing are in the right place. - You want to make the mannequin look like it’s living in the clothing. Pinning the clothing so it better fits the mannequin is always an option if it can be hidden from the customer (in store mannequins can be pinned from the inside of the clothing to be kept from view) - Some small treatments like rolling up the sleeves, popping the collar, tucking in the front (or half the front) of a t-shirt and adding accessories can make your outfit stand out. - Lastly stand back and look at your dressing objectively...does it look like you wanted, it it dressed as instructed...tweak if necessary as every little touch will take a dressed mannequin into something a true pro would dress. Additional notes: Some mannequins that can add dimension and drama to your displays can very difficult to dress and might not be able to wear certain garments (if they have exaggerated poses). Sitting mannequins as an example are harder to add pants/ tight jeans and often need much larger sizes than their actual size to work. Some bent arms can be troublesome as well. Often these mannequin will have different fittings from a standard mannequin and it will be impossible to add multiple layers or pants. You’ll have to learn the limitations of these mannequins and dress them appropriately. As with most things, dressing a mannequin will get easier the more you do it. The basics can be frustrating at first but once you realize the work that’s involved you’ll be better prepared and more patient. Mannequins can be vastly different and you’ll learn your own “pro-tips” over time the more you work with them. Eventually you’ll be focusing more on the “finishing” of a mannequin than actually dressing it. Spending some time looking at other stores displays and emulating their finishing techniques will be a big help to defining your own style. Remember, if you’re having trouble with anything don’t be afraid to call us. Not only have we made it a professional obligation to help but we love doing it.
More Posts
Share by: